|
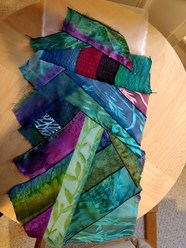
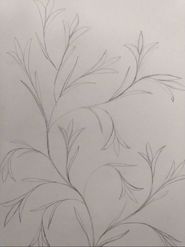
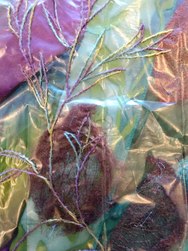
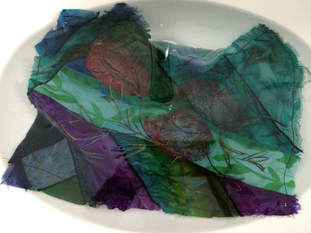
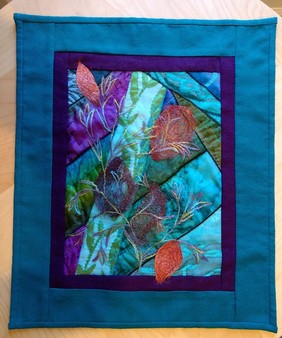
My last post covered my "Just Keep Going" project--making fabric yardage from scraps. Honestly, I had so much fun making yardage from my Maria Testa hand-dyed silk scraps that I had a hard time to break away from to actually do something with the resulting fabrics. I still had a couple more piles of color-coordinated scraps left, but I decided early this month that I'd better use some of the fabric in some projects. How I used the ones I finished might make me rethink how I put them together - especially the size of the pieces I made. My primary intent for using the yardage was to make jackets. I have done that and will share those in an upcoming post. But first I really needed a hand-work project, so I started there. I cut off and squared up about a 12" length of one of the pieces of fabrics I'd created. My intent was to embroider a pattern over the top. (Digression - One of Clara Nartey's blog posts about the importance of practicing your drawing skills had gotten me into doing that. I didn't keep at it the way I should, but I did end up with some motifs that I liked. I wanted to use the one shown below on this piece.) The primary difficulty I had to solve with this piece was how to best transfer my embroidery design to the fabric. Ordinarily, I would just use fabric marking transfer paper, putting it between the fabric and the drawing and tracing over the drawing. For this project that just didn't work. Not only was it difficult to find a color that would show up, but the markings tended to rub off the shiny silk. Not only were they hard to see, but they didn't last long enough - even if I did only a small section at a time. The method I ended up using was still not very satisfactory but it got the piece done. I used a leftover piece of my clear water-soluble stabilizer. I traced the design onto it and then basted it over the silk. I still had problems getting the design clearly visible and lasting well. Of the things I tried, pencil was best, but not great. If I'd used a white stabilizer, it would have been easier to see the embroidery design, but I wouldn't have been able to see the colors of the underlying fabric. Even so, I might try that next time. If anyone has other ideas for me, I'd like to hear them. Other than the visibility problems, the stabilizer worked great. I had no trouble stitching through it. It also dissolved away with no problem. As you can see in the pictures above, I'd layered some flattened silk cocoons onto the fabric base. I'd wondered if they would give me any trouble with dissolving the stabilizer. I was pretty confident I'd be okay since they were just another form of silk, but until you actually try you just don't know. Luckily my theory was confirmed. Not only did the stabilizer rinse out fine, my cocoons held their shape just fine through the soaking.
So here's the final result. I added borders of raw silk, flannel "batting" and some quilt stitching with embroidery thread. The finished piece is 14" x 17." Now it just needs a name and a casing for hanging.
0 Comments
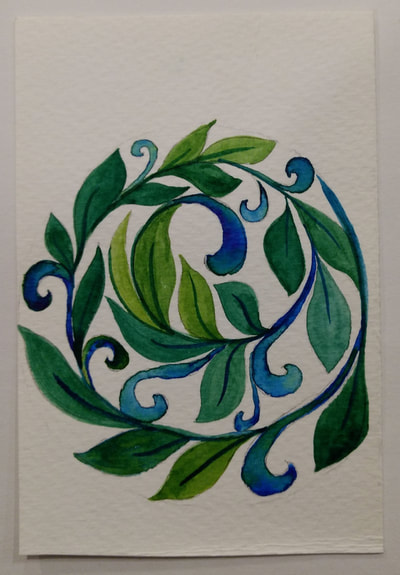
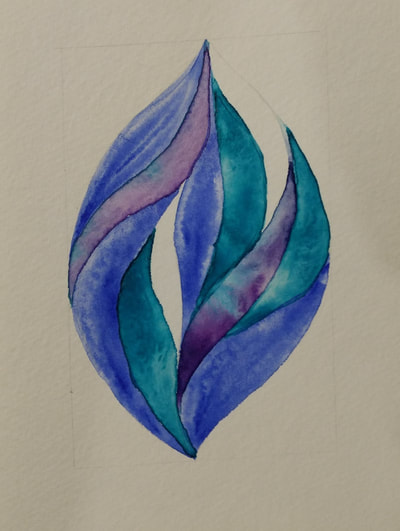
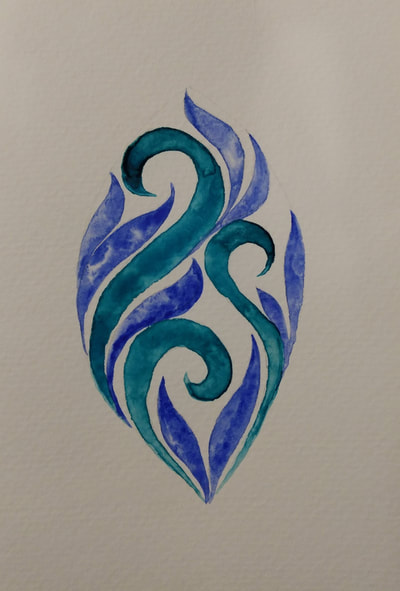
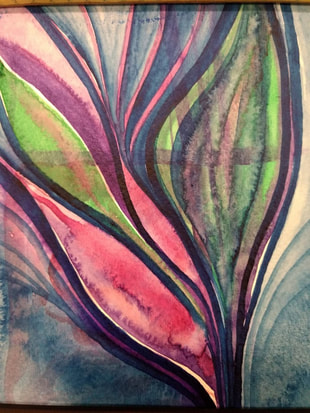
Mom's (Ann's) November blog post about her connections to other artists and their influence on her artwork got me thinking about the artists who have influenced me. It took me a while to get around to writing about it here. Lately I've been squeezing in whatever tiny art projects I can into my life. Tiny watercolor paintings mostly on art cards have been a good way to do that. I even got a cute itty bitty Winsor & Newton travel watercolor set to try to make it easy to pull out some painting supplies. The supplies are also small enough to fit up high on the bookcase out of reach of toddler Tyler (who is almost three)! I dabbled in watercolor painting throughout grade school, but I didn't really get a solid grounding in it until college. My professor for Watercolor Painting and Color Design courses was Wendell Arneson at Saint Olaf College. I didn't realize until taking his watercolor course what a difference a good paint brush can make. Try painting a thin straight line with one of those cheap paint brushes most kids use and then switch to a professional watercolor brush. Frustration be gone! I really enjoyed both courses. We learned some really cool things about color design such as how to make one color look like it is too different colors. One of my favorite things that I learned from Wendell was that if you add a little bit of an "ugly" color to your painting, it can really make your painting "zing!" (I'm still working on that one.) My favorite watercolor technique was creating a puddle of water and then dropping in the colors. I have been using this technique with my mini watercolors a lot. It's just fun to watch the colors swirl together. It can be hard to be patient for one section to dry to be able to continue with the painting. I can work on multiple little paintings at once to keep myself entertained. I've been pondering the idea of doing a really huge painting this way. I'm not exactly sure I can figure out the logistics of doing that before I can get a regular studio space again. The painting below was from painting over some old watercolor exercises. I've chopped up all my random bits of watercolor paper and old exercises. Tyler and I have been painting on them. Since most of Tyler's paintings are mostly random washes of color, I'm planning to add more to those one of these days, too.
~Sonja |
AuthorMother & daughter, Ann Lee & Sonja Lee-Austin share their joys and struggles in their art and lives. Archives
June 2021
Categories
All
|
 RSS Feed